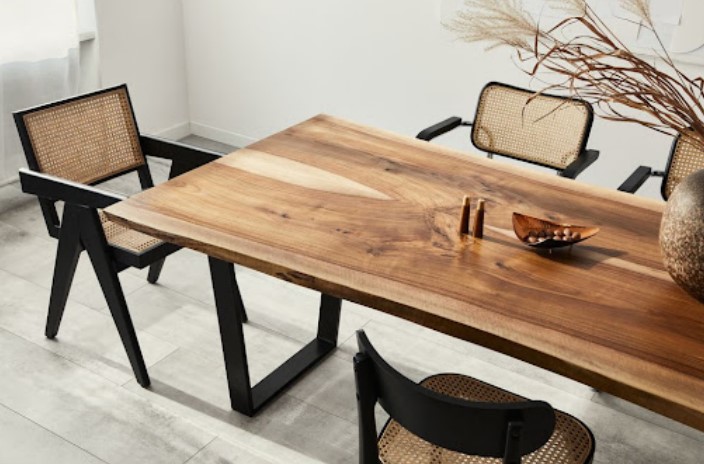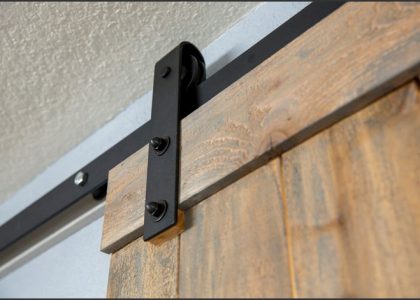
Wooden furniture, flooring, and cabinetry can add warmth and character to a home, but over time, they may lose their original beauty due to wear, scratches, or outdated finishes. That’s where DIY Wood Refinishing: A Beginner’s Guide comes into play—empowering homeowners and hobbyists to restore wood surfaces without the need for expensive professional services. Whether you’re breathing new life into a vintage dresser or freshening up your hardwood floors, refinishing wood is a satisfying and achievable project with the right approach and preparation.
Understanding the Basics of Wood Refinishing
What Is Wood Refinishing?
Wood refinishing is the process of removing the existing finish from a wood surface—such as varnish, paint, or stain—and applying a new one to restore or enhance its appearance. This differs from simple wood cleaning or polishing; refinishing typically involves sanding, stripping, staining, and sealing.
The reasons for refinishing wood are both aesthetic and functional. Over time, finishes can become dull, discolored, or damaged, making furniture look neglected. Refinishing brings back luster, color, and texture, while also protecting the wood from moisture, UV rays, and general wear.
Before diving into a project, it’s important to assess whether the item is a good candidate for refinishing. Solid wood furniture is ideal, while veneered or laminate surfaces may not respond well to heavy sanding or chemical stripping. Always inspect the piece for signs of damage such as deep gouges, loose joints, or water stains that may require repair before refinishing.
Essential Tools and Materials
Preparing Your Workspace and Gathering Supplies
A successful DIY wood refinishing project depends heavily on preparation. Here are the key tools and materials you’ll need:
- Protective Gear: Safety goggles, gloves, and a dust mask or respirator.
- Drop Cloth or Tarp: To protect floors and nearby surfaces.
- Sander or Sandpaper: An orbital sander can speed up the process, while hand sanding allows more control for smaller or detailed areas. Sandpaper grits from 80 to 220 are commonly used.
- Paint or Varnish Stripper: For chemical stripping of thick finishes or paint layers.
- Putty Knife or Scraper: To remove old finish after it softens.
- Wood Filler: For repairing scratches or small holes.
- Tack Cloth or Vacuum: To clean up dust between sanding stages.
- Stain or Paint: Based on your desired finish—oil-based stains penetrate deeply, while water-based options dry faster and have fewer fumes.
- Sealer or Topcoat: Polyurethane, lacquer, or wax to protect the final finish.
Step-by-step refinishing process:
- Clean the Surface: Remove dust, grime, or oils using a wood-safe cleaner.
- Remove the Old Finish: Apply stripper if needed and scrape off the old coating.
- Sand Smooth: Begin with coarse sandpaper (e.g., 80-grit) and move to finer grits (e.g., 180–220) for a smooth, clean surface.
- Repair Damage: Fill holes or cracks with wood filler, then sand again once dry.
- Apply Stain or Paint: Use a brush or cloth, working in the direction of the grain. Apply evenly and wipe away excess.
- Finish with a Topcoat: Once the stain dries, apply a sealer to protect your work. This might require several coats, with light sanding between applications.
Common Mistakes and Tips for Success
Refinishing Like a Pro from the Start
1. Skipping Sanding: Many beginners underestimate the importance of sanding. It ensures the new finish adheres properly and brings out the wood grain. Take your time—rushing this step can result in uneven coloring or blotchy stain absorption.
2. Not Testing the Finish: Always test your stain or paint on a hidden section of wood first. The final appearance can vary based on wood type, previous finish residue, and the product itself.
3. Overapplying Products: Applying too much stain, paint, or topcoat can lead to drips, streaks, or a sticky finish. Thin, even coats are always better.
4. Ignoring Safety: Refinishing involves chemicals, dust, and fumes. Work in a well-ventilated area and always wear safety gear.
5. Lack of Patience: Drying times matter. Rushing to the next step can ruin your hard work. Follow product instructions carefully for drying and curing times.
Pro Tips:
- Use a sanding sponge for curved or detailed areas.
- When working on antique furniture, research the value before refinishing, as original finishes can affect appraisal.
- For a more rustic or distressed look, experiment with two-tone staining or a light sanding after painting for a vintage effect.
Whether you’re tackling a family heirloom or updating a flea market find, DIY Wood Refinishing: A Beginner’s Guide offers the essential steps and confidence needed to restore and transform wood surfaces with your own hands. With the right tools, patience, and technique, you can give tired-looking wood a brand-new life while saving money and learning valuable skills. By taking the time to prepare and execute your project carefully, you’ll achieve professional-looking results that add character and charm to any space—one refinished piece at a time.


