SnapStone Grout is a specially formulated product designed for use with SnapStone floating tile systems. It is a urethane-based grout that offers superior flexibility and durability compared to traditional grouts. Unlike cement-based grouts, SnapStone Grout does not require sealing, making it a low-maintenance option. It is also highly resistant to cracking and staining, ensuring the longevity of the tile installation. This grout guidance aims to provide detailed information on how to effectively use SnapStone Grout for optimal results.
Mastering Your DIY Project: A Comprehensive Guide to Using SnapStone Grout
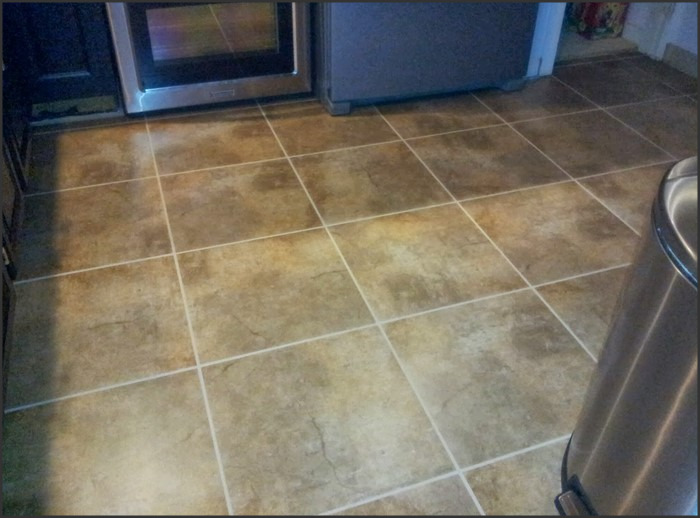
SnapStone grout is a revolutionary product that has transformed the world of DIY home improvement projects. This unique grout is designed to work seamlessly with SnapStone porcelain tiles, providing a durable and aesthetically pleasing finish. Whether you’re a seasoned DIY enthusiast or a novice embarking on your first project, understanding how to use SnapStone grout effectively can make all the difference in achieving professional-looking results.
SnapStone grout is a pre-mixed, urethane-based product that offers superior flexibility and durability compared to traditional cement-based grouts. Its unique formulation allows it to flex and move with your subfloor, reducing the risk of cracks and breakages. This makes it an excellent choice for areas of your home that experience high foot traffic or temperature fluctuations, such as kitchens, bathrooms, and entryways.
Before you begin your project, it’s essential to ensure that your SnapStone tiles are correctly installed. The tiles should be clean, dry, and free from dust or debris. The grout lines should be at least 1/8 inch wide to allow for adequate grout coverage. Once your tiles are in place, you’re ready to start grouting.
Applying SnapStone grout is a straightforward process. Start by shaking the grout container to ensure the product is well mixed. Then, using a rubber grout float, spread the grout across the surface of the tiles, working it into the grout lines. Be sure to hold the float at a 45-degree angle to the tiles to ensure the grout is pushed deeply into the lines.
After applying the grout, allow it to set for approximately 20 minutes. Then, using a damp sponge, wipe away the excess grout from the surface of the tiles. Be sure to rinse your sponge frequently to avoid leaving a grout haze on the tiles.
One of the key benefits of SnapStone grout is that it does not require sealing. This saves you time and effort and ensures your grout remains looking fresh and new for longer. However, it’s still important to clean your grout regularly to maintain its appearance. A mild, non-acidic cleaner is usually sufficient for this task.
While SnapStone grout is designed to be user-friendly, there are a few common mistakes to avoid. One of these is over-watering the grout. Adding too much water can dilute the grout, reducing its strength and durability. It’s also important not to scrub the grout too hard when cleaning, as this can cause it to dislodge from the grout lines.
In conclusion, SnapStone grout is a versatile and reliable product that can help you achieve professional results in your DIY tiling projects. Its unique formulation offers superior durability and flexibility, making it an excellent choice for a wide range of applications. By following the correct application techniques and avoiding common mistakes, you can ensure your grout looks great and lasts for many years to come. Whether you’re a seasoned DIY enthusiast or a novice, mastering the use of SnapStone grout can take your home improvement projects to the next level.